

Wedding season is in full bloom, and there is no better way to add a personal, heartfelt touch to your big day than by creating your own bouquet. Whether you're planning a backyard ceremony or a rustic garden wedding, making your own floral arrangement is simpler than you might think. With a little guidance and the right tools, you can design something truly special.
Here's how to make your own DIY wedding bouquet, step by step.
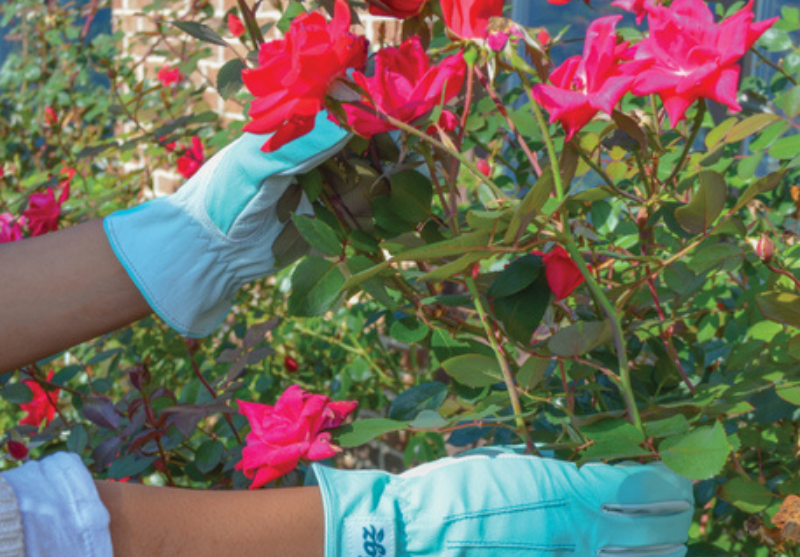
1. Pick (and Cut) Your Blooms with Care
The best time to cut fresh flowers? First thing in the morning. The moisture content is at its highest, and your blooms will experience less stress. Be sure to use sharp pruners or scissors (hello, Digz garden shears!) and cut the stems as long as possible to give yourself flexibility while arranging.
Pro tip: Place each stem in water immediately after cutting to keep everything fresh.
2. Strip the Stems
Before you begin building your bouquet, remove all the leaves from the lower part of each stem. This helps the water travel more easily up the stem and reach the blooms, keeping your flowers vibrant and lush throughout the day.
3. Start with the Basics
There are a few classic elements that go into most bouquets: focal flowers, fillers, greenery, and texture pieces. You don't have to include every single type, but having a mix can help give your bouquet shape and balance.
Not sure where to start? Just trust your eye! Begin by holding a few stems in your hand, then just add and adjust as you go. You can also use a vase to help hold things in place while you work.
4. Check All Angles
Once your bouquet starts to take shape, get a second opinion, either from a friend or a mirror! Looking at it from different angles helps you spot any gaps or overly crowded spots sso you can keep tweaking until it is just right.
5. Trim & Tie Together
When you're happy with your arrangement, trim the stems so they're all the same length. This makes the bouquet easier to hold and helps it sit evenly in a vase if needed.
To secure your bouquet, use a rubber band, zip tie, or clear floral tape. Don't worry if it's not pretty, your ribbon will cover it all.
6. Wrap with Ribbon
Pick a ribbon that complements your wedding colors or adds a personal touch. Wrap it tightly around the base of your bouquet and secure it with a pin or a dot of hot glue. And just like that, your bouquet is officially wedding-ready!
Whether you're walking down the aisle, handing bouquets to your bridesmaids, or decorating your venue, making your floral arrangements is a beautiful way to infuse your day with meaning. And when you're wearing your favorite pair of Digz gardening gloves while prepping your flowers? Even better.
Happy bouquet building and happy wedding season!
Watch the full step-by-step video by @stacyrisenmay on Instagram here.


