By Stacy Risenmay | @stacyrisenmay
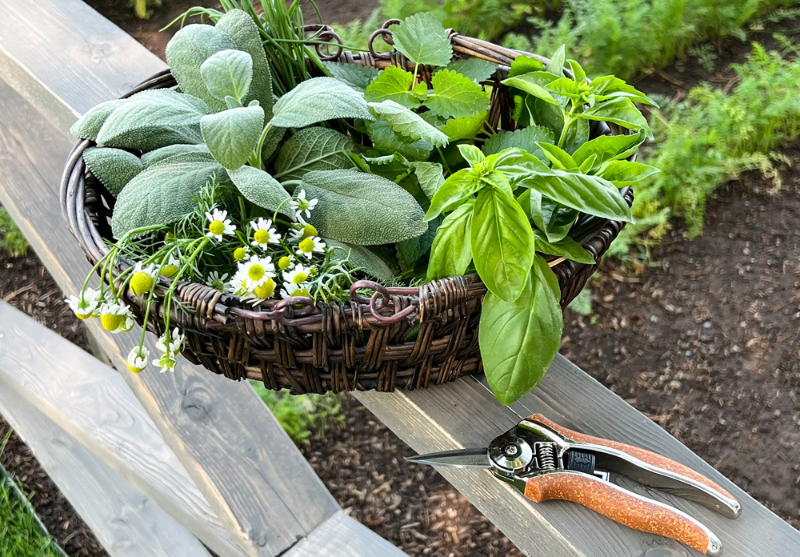
I love being able to walk out into my yard and cut fresh herbs anytime I want. If you have ever used fresh herbs in your cooking, then you know how much better it is than the dried stuff from the store. Growing herbs is easy and so is harvesting them. You just need to know a few tips to maximize your harvest.


1. Harvest Your Herbs Mid Morning
Harvest your herbs in the mid morning after the dew has evaporated. Cutting the herbs when they are wet can increase the likelihood of mold and decreases the storage time. By harvesting them in the morning, they will also have a higher oil content which means more flavor. In the heat of the day, the plant can wilt and have a less than desirable texture.
2. Use Clean, Sharp Clippers
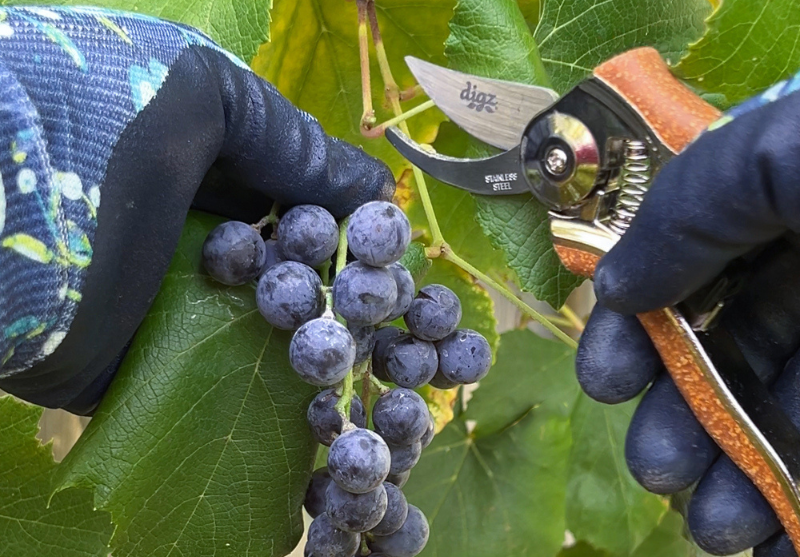
Use clean, sharp clippers to harvest your herbs. If you use sharp clippers you are less likely to cause damage to the plant while harvesting. If you have ever tried to cut a plant with dull clippers you know it can tear it up! I like to use needle point clippers like these from Digz Gardening.

To prevent the spreading of diseases from plant to plant, clean your clippers frequently. Use rubbing alcohol, lysol spray, cleaning wipes, or a soapy bleach solution.
3. Cut From the Top of the Plant
Most herbs need to be cut from the top of the plant. This helps encourage a bushy growth habit. Look for a spot on the plant where there are new pairs of leaves starting to grow. Cut just above them. The new little leaves will eventually turn into new stems. Harvesting from the top also stops the plant from flowering. Flowering can reduce the flavor and size of the leaves since all the plant's energy is going into producing seed. If your plant does flower, you can simply prune them off and still use your herbs. They might just have a bit less flavor.
There are some exceptions to the "cut from the top" rule. Cut herbs like cilantro, chives, and parsley at the base of the plant.
4. Never Take Off More Than 1/3 of the Plant
Make sure when you are harvesting herbs to never take off more than 1/3 of the plant at a time. This prevents the plant from going into shock. This is a good rule of thumb during the active growing season. If your herb is an annual herb, at the end of the season you can harvest the entire plant and preserve it for use later.
5. Store Herbs Individually
After harvesting the herbs from your garden, store them separately so they retain their individual flavors. If you are going to use them soon, you can either store them in the frisge or put them in water like you would flowers in a vase. For a more long term storage solution you can dry them. You can use a dehydrator if you have one or simply tie them with string until they are completely dry. You may need to tighten the string during the drying process since the herbs shrink as they dry. Add them to a jar and keep them in a cool, dry, dark place.
If you don't already grow herbs, I highly recommend that you start! You won't be disappointed with having fresh herbs at your fingertips.


