

By Stacy Risenmay | @stacyrisenmay
When it comes to preserving things from my garden, making grape juice is one of my favorite things to do! It might not seem like it, but it is SUPER easy to do! Here's how to make homemade grape juice and how to bottle it so you can enjoy it all year long!


1. Harvest Your Grapes
I wait until the fall to harvest my grapes. The longer they stay on the vine, the sweeter they will be. Grapes do not continue to ripen after they are picked so they must ripen on the vine. You can taste a grape or two to test the sweetness. If the stems are starting to brown, that can also be an indicator that it is time to harvest.
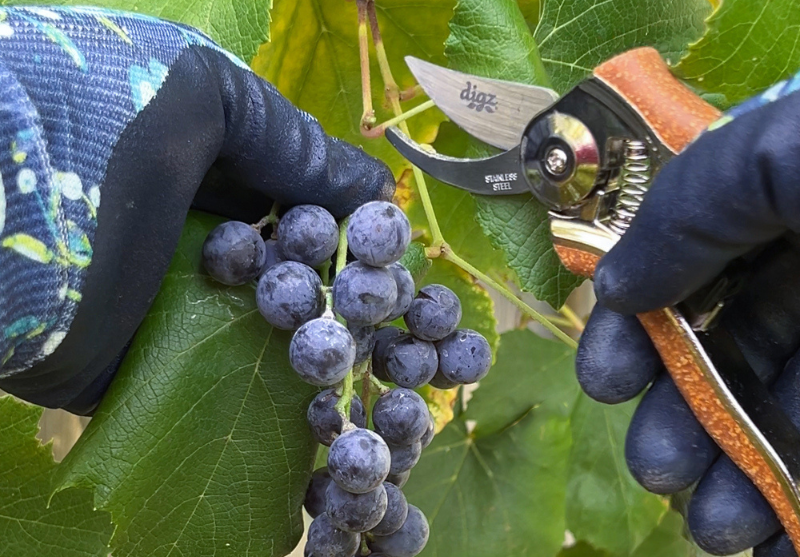
Use clean, sharp pruners or snips to cut the bunches of grapes from the vines. It is so much easier and FASTER than trying to rip them off with your hands. And you won't accidentally pull off a vine with the grapes in the process. I love the new pruners from Digz! They fit nicely in my hands, are comfortable to use, and are nice and sharp.
My concord grape vines are fairly young so I was so happy that I ended up with 2 baskets full when all the picking was done. It is the best to wait and pick the grapes when you are ready to make the juice but if you need to wait a couple of days, store them in the fridge.
2. Clean the Grapes & Jars
When you are ready to make the juice, start by cleaning the grapes and jars really well. You can add the canning jars to the dishwasher and run them with a high heat dry setting to sanitize them or you can clean them in hot soapy water with a little bleach added.
To clean the grapes I add them to a clean sink full of water to soak. Then I drain the water and rinse them really well.
3. Juice the Grapes Using a Steam Juicer
The thing that makes this process so easy is this steam juicer. You simply add water to the bottom part and the grapes to the top portion. You don't even have to take the grapes of the stems! The steam and gravity will do the rest of the work. Juice will flow out of the tube so I usually place a pitcher on a stool to catch the juice. I check it every now and then and when the pitcher is mostly full I pour the juice into quart jars.
Check the water level in the bottom of the juicer every so often so it doesn't run out. I usually have to add more water once or twice depending on how many grapes I am doing.
4. Chill the Juice, Strain & Bottle
When the grapes have been added and no more juice is flowing out, place lids on your jars and put them in the fridge for 24 hours. This allows the sediment to settle to the bottom and the natural tartrate crystals to form. After they have chilled in the fridge, I pour the juice through cheese cloth to strain out those things. Before you can bottle the juice you will need to heat the juice up. if you were to add cold juice to the hot water bath canner it would cause the jars to crack.
Ladle the hot juice into clean jars. Wipe the rims, add lids and rings, and place them on the rack in the water bath canner. They do not need to process very long. The time will depend on your elevation.
Once the jars cool, you can store them in a cool dark place for several years. Mine doesn't last even a year since grape juice is a favorite with my kids!
Have you ever made homemade grape juice before? What is your favorite thing to preserve from your garden? I'd love to hear about your experience!
Happy Gardening :)


