

Fall is the perfect season to refresh your front porch with simple, festive touches. One of the easiest and most charming ways to do this is by creating DIY pumpkin planters. With just a few pumpkins, plants, and your favorite Digz Gardening Tools, you can create a front porch display that celebrates autumn in style.
Want to see the pumpkin planters in action? Check out @itty_bitty_farmhouse for a quick tutorial!
Step 1: Choose and Prep Your Pumpkins
Start with pumpkins that are easy to carve and hollow inside—these are perfect for planting. Use a utility knife to carefully cut off the top, creating a wide opening for your plants.
Tip: Drill 2–3 small drainage holes in the bottom of each pumpkin to prevent water from pooling, which could harm your plants. This is especially important if you’re using mums or pansies that prefer well-draining soil.
Step 2: Add Color and Texture
If you want your pumpkins to stand out from the traditional orange, spray paint them! Shades like green, white, or even muted pastels work beautifully for fall. To create depth and a natural look, try a dry brush technique: lightly dip a brush in paint and streak it across the pumpkin for a marbled or weathered effect. Let the paint dry completely before adding soil to avoid staining or sticking.
Step 3: Add Soil
Next, it’s time to fill your pumpkins with soil. Use a high-quality potting mix that drains well—this will help prevent overwatering and keep your plants healthy all season.
- Fill the pumpkin halfway with soil.
- If planting multiple plants in one pumpkin, create small pockets for each plant.
- Lightly press the soil around the roots after planting to remove air pockets.
Your Digz Gardening Gloves are perfect for this step—they keep your hands clean while giving you grip and control as you work with soil and roots.
Step 4: Plant Your Fall Blooms
Choose fall favorites like mums, pansies, ornamental kale, or small grasses.
- Place each plant gently into its soil pocket.
- Add more soil around the roots to stabilize the plants.
- Water lightly to help settle the soil and hydrate the plants.
If planting multiple pumpkins, repeat the process, experimenting with different plant heights and colors for a layered, visually interesting display.
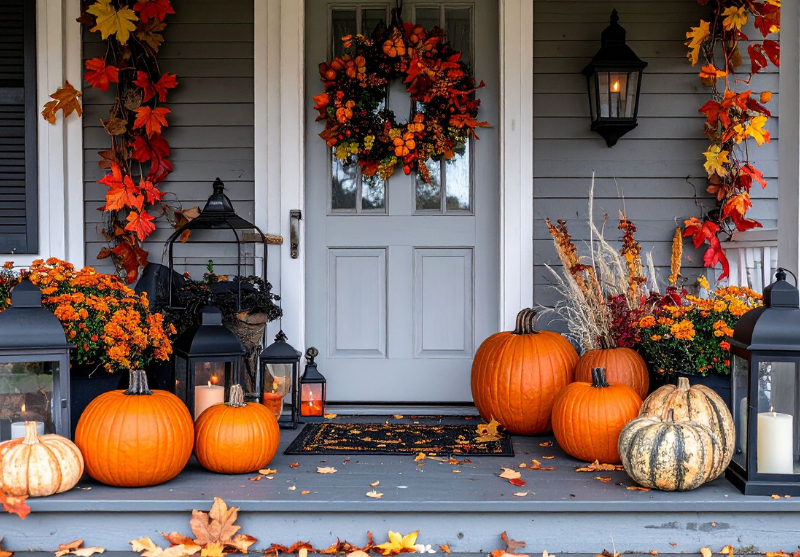
Step 5: Display Your Pumpkin Planters
Arrange your pumpkin planters in clusters on your porch steps, along walkways, or near your entryway. Mix tall and short plants, different pumpkin sizes, and varied colors for a dynamic, inviting look.
Tip: A Digz Garden Tote is perfect for carrying tools, extra soil, or trimmings as you maintain your fall display.
Transform Your Porch This Fall
With a few pumpkins, soil, plants, and Digz Gardening tools, creating a cozy, colorful fall front porch is simple and fun. Your DIY pumpkin planters will bring warmth and charm to your home all season long, making your porch the perfect spot for autumn evenings and festive gatherings.


